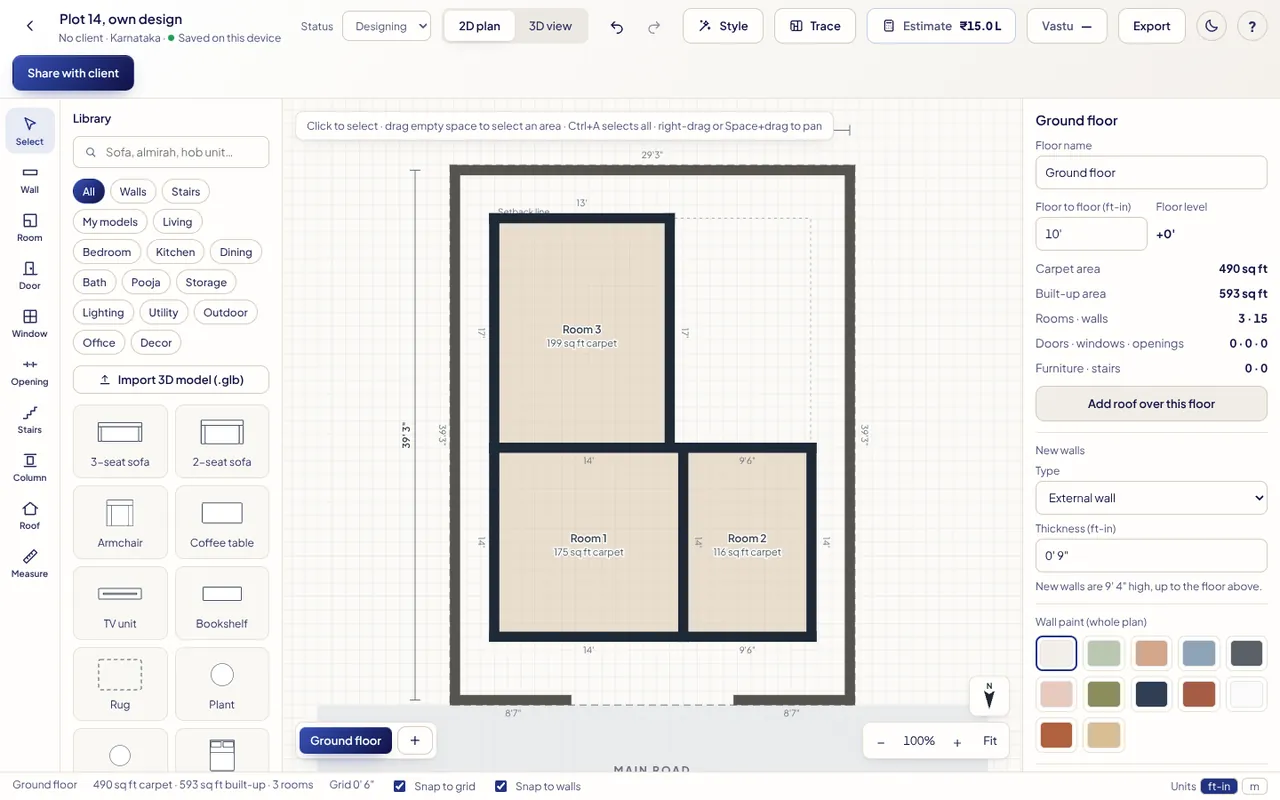
When no template fits, start blank but still tell the app about the plot, so you get the road, a setback line to draw inside, a one-click compound wall and a Vastu facing.
1. Blank plan and the plot
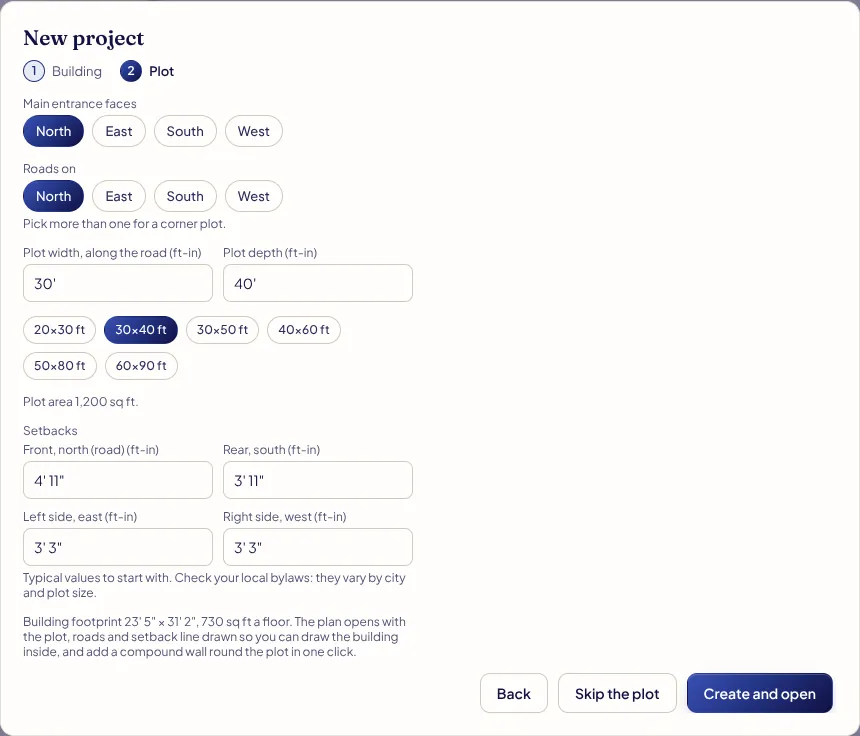
New project → Blank plan → Next: Plot. Set Main entrance faces, Roads on, the plot size and the setbacks, then Create and open. (Press Skip the plot for a clean sheet with no plot.)
2. The empty plan
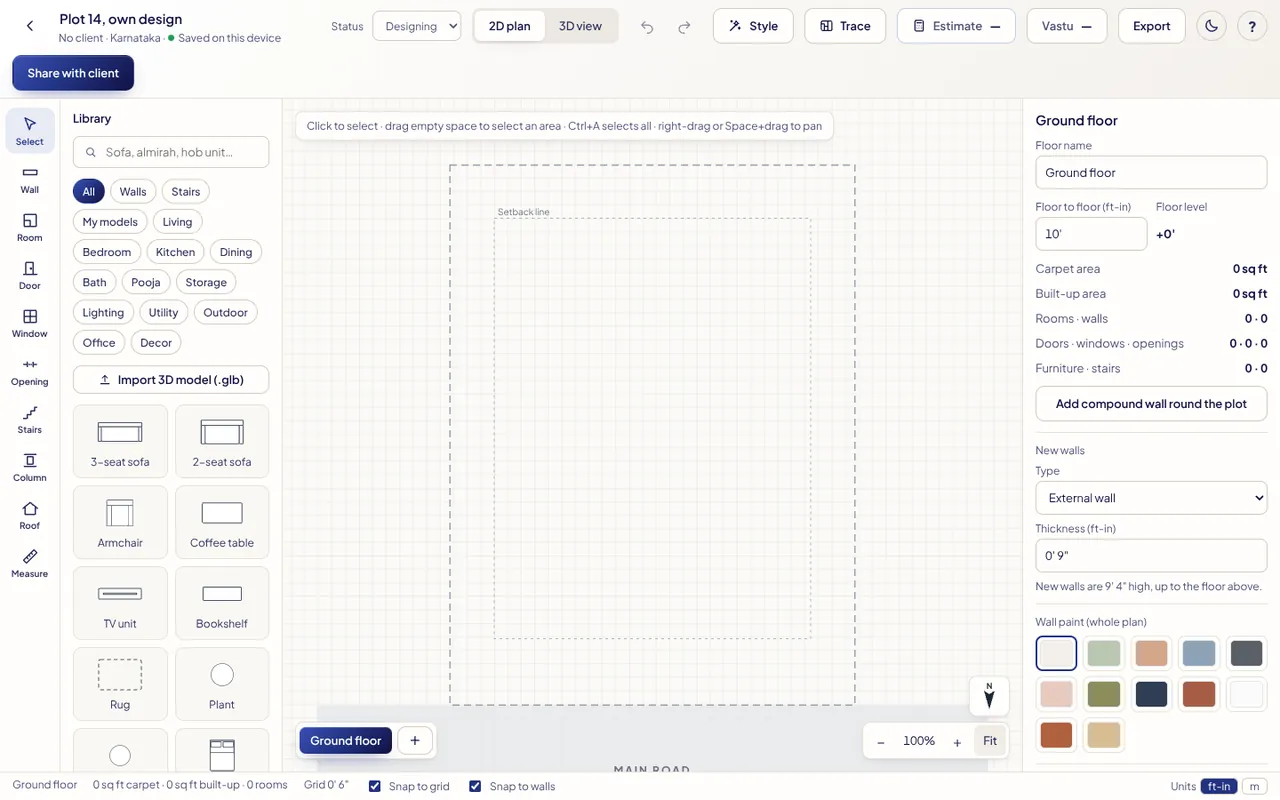
The plan opens on the whole plot: the outer dashed line is the plot, the inner one marked Setback line is where you can build.
3. Draw the rooms
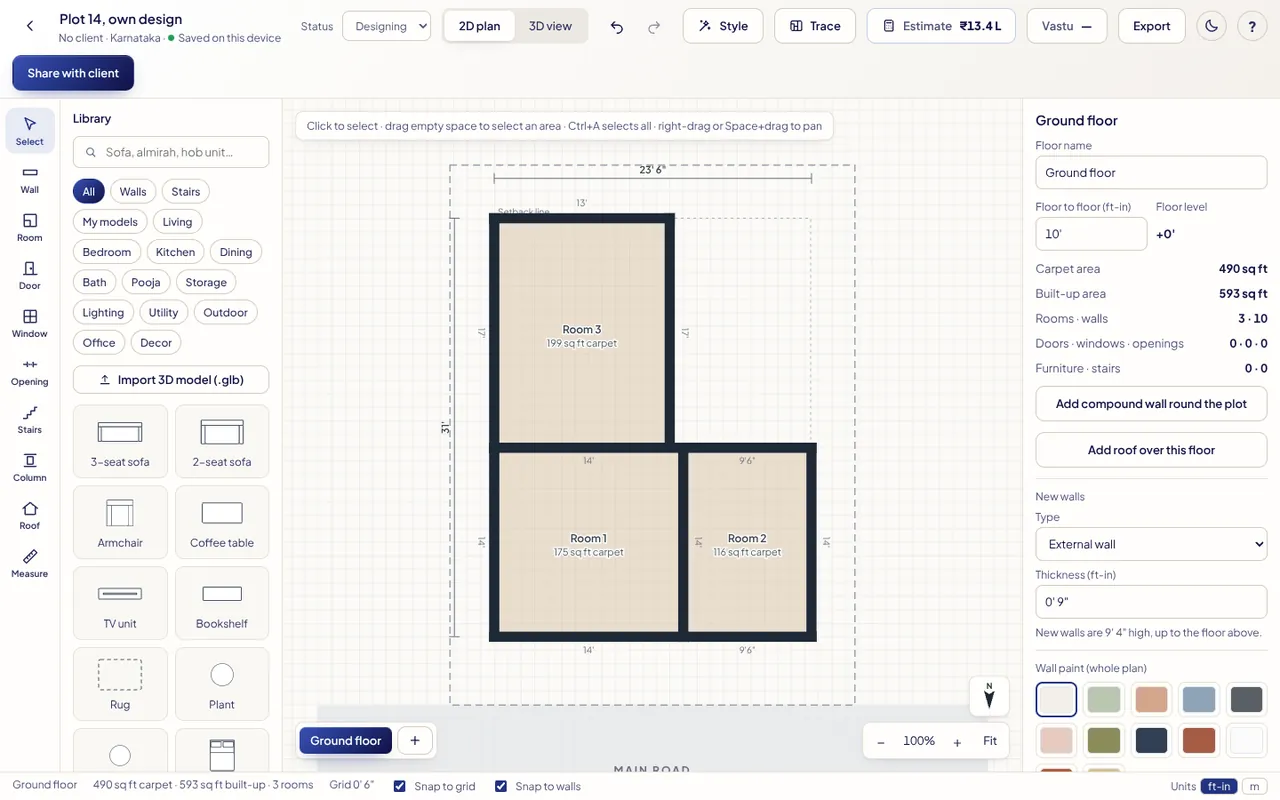
Press R (Room tool) and drag each room inside the setback line; corners snap to walls already drawn. Or press W (Wall tool) and click corner to corner. Select a room to name it and type its Width and Depth. Then add doors (D), windows (N) and stairs (Library → Stairs).
4. Compound wall, floors and roof
With nothing selected, press Add compound wall round the plot. Add floors with + in the floor switcher and a roof with Add roof over this floor on the top floor.